Oil based clay project
- Approved design must be stamped and turned in with project (no copy righted images)
- Clay work must be between ⅛” (min.) and ¼” (max.) thick
- Clay work must be accurately done with correct proportions, clean lines and uniform surfaces, whether smooth or textured
- End cast must be finished correctly
- Materials added post cast must have Attachments that are clean and done correctly
- Any settings must be tight and clean
- Turned in on time
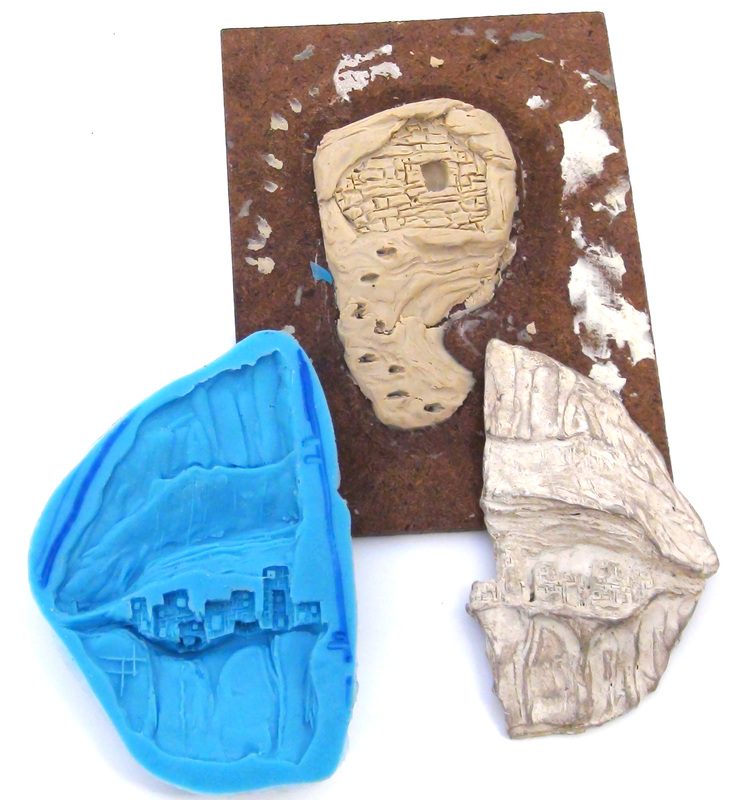
The Process
- Design your project on paper and get it approved
- Get oil based clay and back board
- Using wax modeling tools and your hands shape and sculpt the clay into your project
- Refine the project cleaning all the lines and contours
- Build a dam around the project using more oil based clay
- Fill the dam with silicone Mold
- When hardened, remove model from the mold and return the clay and back plate
- Fill the open-faced silicone mold with molten wax
- Remove the wax and clean it up in preparation for casting
- Sprue it
- Remove the sprue completely from the cast
- Polish it
- Turn it in